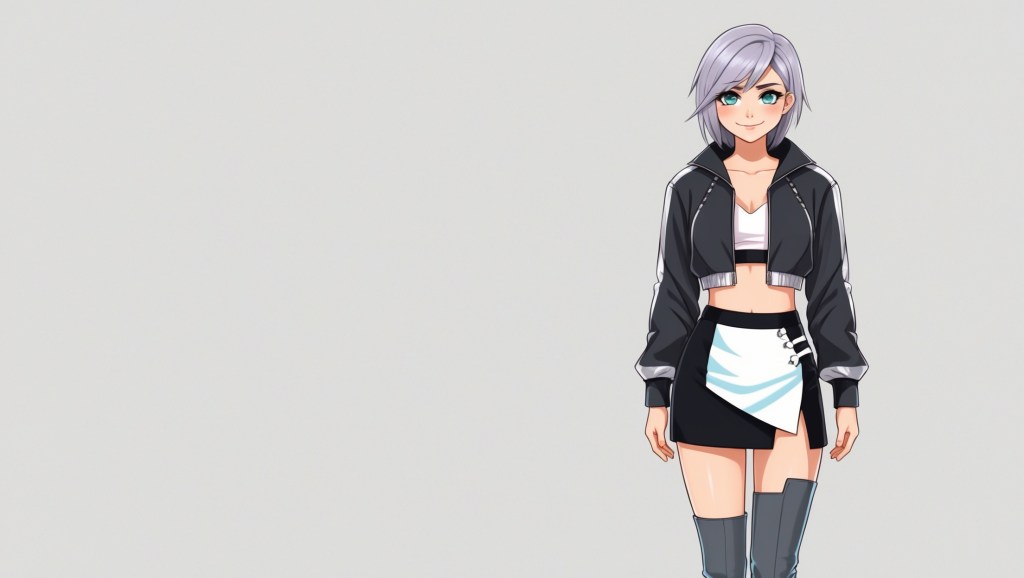
When you’re a VTuber, your avatar isn’t just a digital face; it’s your stage presence, your branding, and your personality all rolled into one. But here’s the thing most VTuber creators eventually discover: making a VTuber avatar that looks amazing from every single angle is a lot harder than nailing that perfect front-facing promo shot.
Front view? Easy. But how does your 3D avatar hold up when the camera pans to a three-quarter view? Does your 2D avatar still look charming when tilted down? What about when a viewer catches a glimpse of your model from a low camera angle? Does the design still hold up, or do the proportions suddenly feel off?
If you’ve ever looked at your own model mid-stream and thought, “Yikes, that’s not my best angle,” you’re not alone. Let’s explore how to design an avatar that always looks good, no matter where the camera catches it.
How to Design a VTuber Avatar?
Designing a VTuber avatar that works from every angle starts long before you open Live2D or Blender. First, define the character’s personality, lore, and role in your content; these guide silhouette, color palette, and accessories. Create front, side, and three-quarter concept art to lock proportions early. For 2D avatars, separate art layers strategically for smooth rigging.
For 3D avatars, sculpt with consistent checks in orthographic and perspective modes, testing mesh flow as you go. Build asymmetry intentionally; it adds realism and visual depth. Once modeled or rigged, run full-angle and motion tests, paying attention to how expressions and accessories behave in extreme tilts. Adjust lighting and shading to preserve depth under different conditions. Finally, get feedback from other VTuber creators before finalizing; fresh eyes will spot angle flaws you’ve gone blind to. This process ensures your avatar feels alive and polished, no matter where the camera looks.
Why Angles Matter More Than You Think?
Most VTubers stream head-on to their audience, so you might think, “Do I need to care about every angle?” The short answer: absolutely.
Here’s why:
- Dynamic Streaming Is Here – With more creators using multiple camera angles, live scene changes, and even 3D environments, you can’t hide behind a fixed front view anymore.
- Facial Tracking Has Evolved – Software like VTube Studio, Animaze, and Luppet track subtle head movements, meaning your audience sees micro-angle shifts constantly.
- Clips & Social Media – That one viral TikTok edit might just be the moment you’re glancing sideways, you want that frame to look as good as your thumbnail.
Think of your avatar like a stage performer. A great performer doesn’t just rehearse facing the audience; they own the whole stage.
2D vs. 3D: Unique Angle Challenges
Both 2D avatars and 3D avatars face angle-specific design problems, but they’re very different.
2D Avatars (Live2D, Animaze, etc.)
- The Challenge: Angles are simulated, not modeled. Turning the head involves mesh warping, which can lead to stretching or unnatural shapes if not rigged carefully. Even small rigging shortcuts become obvious in side or tilted views.
- The Fix: Create additional art layers for three-quarter views. Use parameter tuning to avoid over-warping. Extra mouth and eye shapes can make off-center expressions look natural, while layered shadows keep depth consistent.
3D Avatars (VRM, custom Blender/Maya models)
- The Challenge: Real geometry means every flaw is visible from all sides. Hair volume, ear placement, or jaw shape might look perfect from the front but awkward in profile or top-down shots.
- The Fix: Constantly rotate your model in orthographic and perspective views during sculpting. Test in different focal lengths, and check how lighting and shading behave at extreme camera angles to maintain visual balance.
The Golden Rules of All-Angle VTuber Design
These aren’t just “tips”, they’re the visual survival rules every VTuber creator should keep in mind.
1. Build a Strong Silhouette First
Before coloring, shading, or accessorizing, rotate your model in a blank scene and check if it’s recognizable from the side or back. Strong silhouettes make your avatar readable even in tiny chat bubbles or crowded collab streams.
2. Use Intentional Asymmetry
Perfect symmetry may look polished head-on but can feel uncanny from other angles. Small details like a hair clip on one side, uneven bangs, or a slightly raised eyebrow create visual interest and help with depth perception.
3. Avoid the “Profile Shock”
Ever notice some avatars look stunning front-facing but strange in full profile? This happens when the jawline, nose bridge, or head depth hasn’t been balanced in 3D space. Test in 30°, 60°, and full 90° turns to catch these issues early.
4. Hair Shape Comes Before Hair Physics
In 3D, overly layered hair can cause clipping or ballooning from certain angles. In 2D, hair drawn too flat can look crushed when the head tilts. Design hair with volume and depth so physics and rigging have room to breathe.
5. Light for Reality, Not Just Concept Art
Streaming isn’t static — lights move, shadows shift. In 3D, test your avatar with rim lighting, side lighting, and low-angle lighting. For 2D, pre-plan shadow layers for every head tilt so shading doesn’t break immersion.
6. Accessory Placement Is Everything
Bows, headphones, glasses, or horns can betray lazy angle planning. A headphone band that floats above the head from the side is instantly noticeable. Always test attachments in motion, not just static renders.
7. Check Motion Ranges Before Declaring ‘Done’
Do a full motion sweep — nodding, looking side to side, tilting — and record it. You’ll notice small issues like eye misalignment, ear clipping, or scarf distortion that aren’t obvious in still previews.
Common Mistakes That Ruin Side Views
Let’s get brutally honest, these are the most common all-angle mistakes I see in both beginner and even mid-tier VTuber models.
- Pancake Hair: Hair volume looks fine from the front but is paper-thin from the side.
- Overly Flat Faces: Especially in 3D, lack of depth in cheekbones or nose causes the side view to collapse visually.
- Mouth Stretching: In 2D rigs, the mouth warps awkwardly in three-quarter view due to poor parameter linking.
- Accessory Float: Headphones, hats, or headbands that don’t align to skull curves in non-front views.
- Lighting Wash-Out: Strong frontal lighting that looks great head-on but flattens features at side angles.
Pro Workflow: Testing Your Avatar at Every Angle
Here’s how I recommend testing, whether you’re a VTuber creator making your own rig or commissioning one.
For 2D Avatars:
- Load into Live2D or VTube Studio.
- Test full motion from -30° to +30° horizontal turns, plus -15° to +15° tilts.
- Pay attention to how hair parts, eyes, and mouth move together.
- Record and scrub through frame-by-frame.
For 3D Avatars:
- Rotate the model in both orthographic and perspective views.
- Test multiple camera focal lengths (20mm, 35mm, 50mm).
- Add at least 3 lighting setups, front, side, and top-down.
- Test in actual streaming software, OBS, VRoid Hub preview, or VSeeFace, not just Blender/Maya.
How Pro VTubers Handle Angles?
Some of the most successful VTubers have made all-angle polish part of their brand identity.
- Kizuna AI – Subtle asymmetry in her hair and outfit makes even side shots dynamic.
- Ironmouse – Accessories like her horns are modeled to fit naturally at every rotation, no floating or clipping.
- Calliope Mori – Her 2D rig uses carefully layered hair and shadowing to keep depth even in extreme tilts.
Beyond just looking good, these design choices keep their avatars expressive and believable in motion. Studying how they manage lighting, proportions, and movement across angles can reveal techniques you can adapt to your own VTuber design, speeding up your growth as a creator.
Commissioning With Confidence: The Artist’s Checklist
If you’re hiring someone to make your model, ask these specific questions to avoid angle disasters:
- “Can I see WIP renders or rig tests from multiple angles?”
- “How do you ensure accessories align in the side view?”
- “Do you build extra parts for smoother 3D movement in Live2D?”
- “Do you test in actual VTubing software, not just design tools?”
An experienced artist won’t just answer; they’ll show you proof in their process, walk you through their testing workflow, and explain how they resolve common angle flaws before final delivery. That’s the mark of a true professional.
Final Thoughts
A VTuber avatar that shines from every angle isn’t just for show, it’s the difference between looking “fine” and looking unforgettable. Every tilt, turn, and side glance becomes part of your storytelling. A profile shot can be as expressive as a direct gaze when your design is built for it. Whether you perfect it yourself or work with a skilled artist, making your model angle-proof elevates your entire presence. Your viewers may not consciously notice the effort, but they’ll feel it. And when that unexpected clip takes off online, you’ll know your avatar looked flawless in every single frame.


Leave a reply to Kurob Cancel reply